How to Put a Harness on a Dog Step by Step
Learn how to put a harness on a dog, step by step, with fit checks, common mistakes, and calm training tips for dogs that hate harnesses.
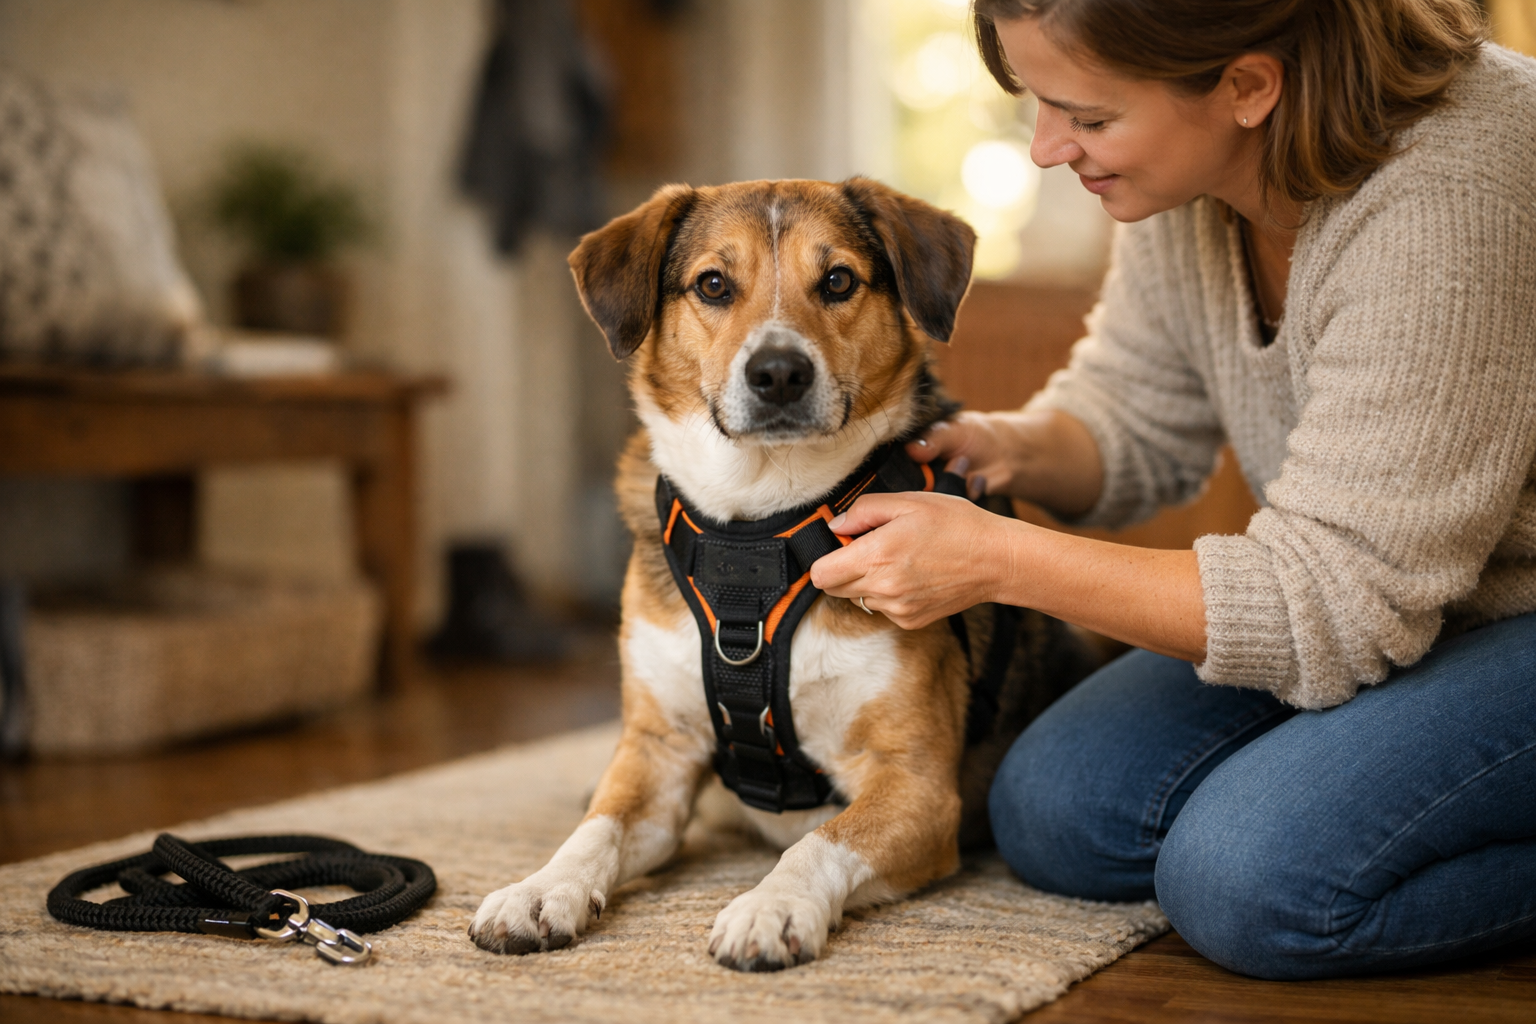
Figuring out how to put a harness on a dog sounds simple, until you have a wiggly puppy, a nervous rescue, or a dog that can back out of gear like a magician. The good news is that most harness problems come down to three things: the wrong harness type, bad fit, or moving too fast.
Once you know which harness you have and where each strap goes, the whole process gets much easier. A good harness should feel boring. It goes on without a wrestling match, your dog walks normally, and nothing rubs.
Know which harness you have first
Before you try to put it on, take ten seconds and look at the harness in your hands. A lot of frustration comes from treating a step-in harness like an overhead harness, or the other way around.
The two most common styles are:
- Overhead harnesses, where the neck loop goes over the dog's head and the chest strap sits between the front legs.
- Step-in harnesses, where the dog steps into two leg holes and the harness clips on top of the back.
Some overhead harnesses have one buckle. Some have two. Some clip at the chest, some at the back. That changes where you attach the leash, but not the basic order of getting it onto your dog.
If you are shopping rather than fitting, I usually like a Y-front harness for everyday walks. It gives better shoulder movement than the cheap, straight-across chest styles that can sit too high and press on the throat.
Set yourself up before you start
Do not try to size, untangle, and fasten the harness while your dog is already spinning at the door. Lay it out first. Loosen the straps a little if needed, find the buckle, and figure out which side is the chest and which side is the back.
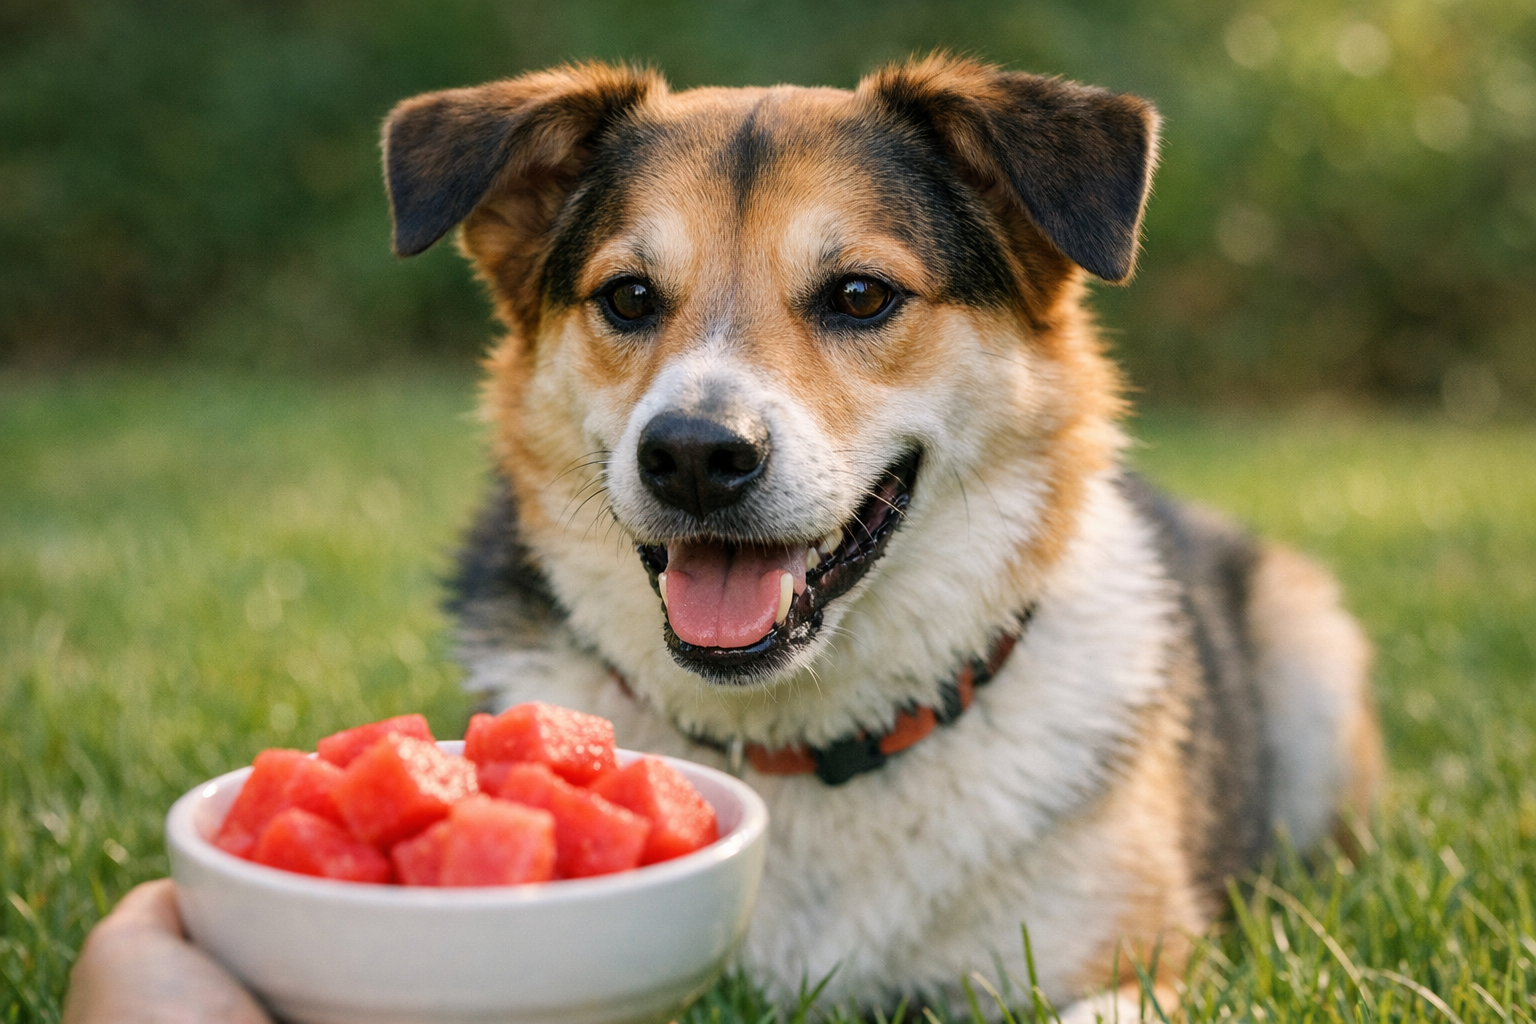
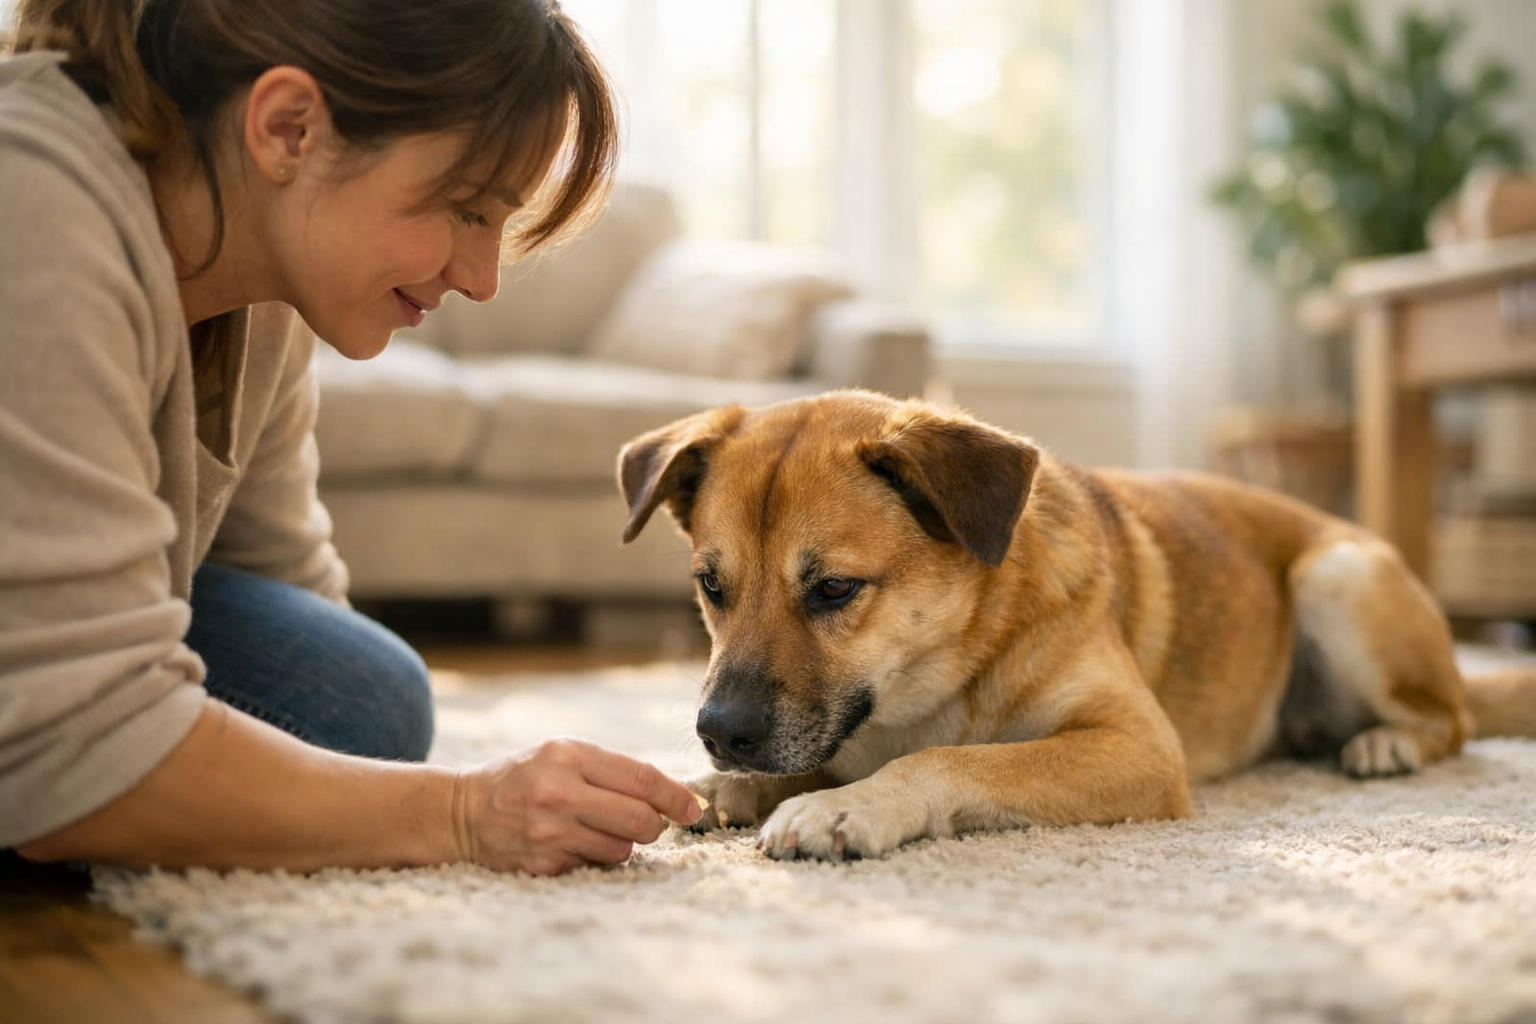
Then get a few tiny treats ready. Soft, fast-to-eat treats work best because you want cooperation, not a snack break. Random human food is not always a good idea, so if you are tempted to use movie snacks, check popcorn safety first.
If your dog is new to harnesses, practice away from the front door. The doorway amps up excitement. A quiet room gives you a better shot at keeping things calm.
For step-in harnesses, look at your dog's feet and nails too. Dogs with long nails sometimes hate stepping into anything because spreading their toes feels awkward. If that sounds familiar, it helps to know when to trim dog nails.
How to put on an overhead harness
This is the style many people picture when they ask how to put a harness on a dog. It is also the one that goes wrong most often when owners rush the head-through part.
-
Hold the neck opening open.
Find the loop that goes around the neck and hold it wide enough that your dog does not feel trapped. -
Guide your dog's head through.
Do not jab the harness toward their face. Bring it in slowly, let them sniff it, then slip the neck loop over the head. Most labels or handle pieces should end up on the back. -
Let the chest piece fall into place.
The strap that hangs down should sit at the center of the chest and run between the front legs. -
Bring the side strap behind the front legs.
Wrap the belly or girth strap around the ribcage, not the waist. It should sit a couple of fingers behind the elbow. -
Clip the buckle.
Listen for the snap, then check that no fur or skin is pinched. Long-coated dogs can get hair caught without reacting much in the moment. -
Reward, then pause.
Give a treat, let your dog stand, sit, and take a couple of steps. You want to see how the harness settles before you clip on the leash.
If your harness has two side buckles, the process is the same except you clip both sides after the neck loop goes on. These styles are nice for dogs that hate having front legs lifted or threaded through straps.
How to put on a step-in harness
Step-in harnesses can be great for dogs who dislike things going over the head. They can also be confusing at first because they look like a pile of straps on the floor.
-
Place the harness flat on the ground.
Set it down so the two leg holes are open and the buckle piece is at the top. -
Line up each front paw with a hole.
You may need to guide one paw at a time. Keep it calm and matter-of-fact. -
Lift the harness up.
Once both paws are through, pull the harness up along the front of the legs and over the shoulders. -
Fasten it on the back.
Bring the two sides together over the shoulders or upper back and clip the buckle. -
Check for twists.
This matters more than people think. A twisted strap can rub the armpit in one short walk.
A lot of dogs lift their paws better if you lure them into position rather than grabbing their feet. If your dog gets silly or frustrated during practice, a short break with enrichment toys can help them settle before you try again.
How tight should a dog harness be?
The classic rule is the two-finger test, and it is a good starting point. You should be able to slide two fingers under the straps, but not so much extra room that the harness shifts side to side.
That said, two fingers on a fluffy dog is not the same as two fingers on a lean, short-coated dog. Use your eyes too. The harness should sit flat, the chest piece should stay centered, and the girth strap should stay behind the elbows instead of creeping into them.
Watch your dog move. They should be able to walk, sit, and lie down normally. If the harness rides up into the throat, blocks shoulder movement, or lets your dog back out when they reverse, the fit is wrong.
Make the first walk short. Ten calm minutes tells you more than twenty seconds in the hallway. Let your dog sniff and settle, and if they stop to nibble grass, that is usually a separate question, not a harness one. Here is a good guide on why dogs eat grass.
If your dog hates the harness
This is where most people lose patience, and I get it. You just want to go outside. But if your dog ducks, freezes, or runs when the harness appears, forcing it usually makes the problem worse.
Instead, break the process into tiny pieces:
- Show the harness, give a treat.
- Let your dog sniff it, give a treat.
- Touch it to the shoulder, give a treat.
- Slip it on for one second, give a treat.
- Clip it, treat, then take it right back off.
That is training, not bribery. You are teaching your dog that the harness predicts good things and does not stay on forever.
Keep sessions short, one to three minutes is plenty. Stop before your dog gets annoyed. If you live with cats too, remember that animals use body contact in very different ways. Weird feline social grooming, like cats licking each other's bum, is not the same as a dog chewing or pawing at a harness. In dogs, that usually points to stress, bad fit, or rubbing.
Common mistakes that cause slipping or chafing
The biggest mistake is putting the chest strap too high. If it sits across the soft throat instead of the chest, your dog may cough, gag, or plant their feet and refuse to move.
The next big one is leaving the girth strap too loose. A nervous dog can back up, shrug one shoulder, and slip free in seconds. I have seen this happen in parking lots, and it is the kind of mistake you remember.
Wet harnesses are another problem. Sand, salt, or damp fabric can rub the skin raw, especially in the armpits. If you find a red spot after a walk, stop using the harness until the area calms down. Before you apply anything from the medicine cabinet, read this on Polysporin on a dog.
Also, recheck the fit after grooming, weight change, or coat blowout. A harness that fit in winter fur can be too loose after a trim, and a harness that fit a growing puppy last month may be completely wrong now.
Breed and body-shape quirks matter
This works for most dogs, but not all. Some body types need extra attention.
A Norwegian Lundehund has unusual flexibility and extra toes, so step-in styles can be a little fiddly if the paw openings are narrow. Go slowly and make sure the straps are not twisting around the feet.
A Grand Basset Griffon Vendéen is low to the ground with a longer frame, which means straps can drift toward the elbows if the harness is too short in the body. Check movement from the side, not just from above.
A sporty dog like a Portuguese Pointer often puts real force into the leash. For that kind of dog, I like a stable harness with a clear chest piece and snug girth, because loose, lightweight harnesses tend to shift fast.
A shaggy Portuguese Sheepdog can fool you because the coat makes everything look padded and secure. Put your hands under the fur and feel the actual strap position before you head out.
The point is not that these breeds need special magic. It is that charts and labels only get you so far. The dog in front of you matters more than the size printed on the package.
When it is time for a vet or trainer
If your dog always hated gear, training is usually the answer. If your dog suddenly hates a harness they wore happily last week, think pain first.
Check the neck, shoulders, armpits, chest, and paws. Look for redness, limping, yelping, hair loss, or a sudden refusal to have the head touched. Problems like that can tie into skin issues, orthopedic pain, or other common dog diseases.
A sore spot from a bad walk is usually not an emergency, but it does mean you should stop and fix the setup before the next outing. If your dog is coughing in the harness, screaming when you fasten it, or showing skin sores, I would book a vet visit within 24 hours.
If the problem is panic rather than pain, bring in a good trainer. A few calm, well-timed sessions can solve what months of wrestling at the door never will.
In practical terms, how to put a harness on a dog comes down to this: know the harness style, fit it on the chest instead of the throat, keep it snug behind the elbows, and train the process slowly if your dog is unsure. Once those pieces are in place, most dogs stop making a big deal out of it, and so do their people.